FASHION, FOOD, EVENTS & TRAVEL

The Kings Arms on Fulham Road

Bow Down: Queen Bey

Sunsets and Night Skies

Coco's Tea Party x Next: Behind the Scenes

Showing posts with label Recipes. Show all posts

Friday, 28 June 2013

Today's post comes laden with good news... I am officially on my summer holidays! Yayyyyy! Although I haven't been at uni since March, I have been interning until last Friday when my time was up. I loved every second of it and I'm definitely planning on going back, but for now I am super happy to be back in the cocoon of my tiny seaside town with all my pals for a good few months.


With this in mind, it now means I can cook meals again, which means more food blog posts! Yay! I haven't done any in such a long time and seeing as that's what my blog was originally started for, I do apologise for that!


Today's recipe comes in the form of Ginger Chicken Cakes with Spicy Lime Noodles. I'm going on holiday next week so at the moment I am trying really hard to keep a controlled diet (for the obvious reason that I can then go totally off the rails on holiday!). This recipe was adapted from a canapé book that belongs to my Mum. I also used a Jamie Oliver dressing recipe from his 15 Minute Meals book, as a sauce for the noodles. So it's a bit of a mish mash of ideas, but isn't that what cooking is all about?!


To make this gorgeous, fresh dish for two people, you'll need:

For the chicken cakes:
2 chicken breasts - diced into small chunks
1 inch piece of ginger - chopped
2 tbsp fish sauce
3 spring onions - chopped
2 cloves garlic - crushed
Juice of 1 lime
Few twists of ground black pepper

For the noodle dressing:
2 tbsp soy
1 tbsp fish sauce
Half a red chilli - chopped
Half inch ginger - chopped
2 spring onions - chopped
Juice of 1 lime
1 clove garlic - crushed

2 nests of egg noodles (or any kind you like - I love rice noodles but didn't have any in stock)
Salad - if you fancy it


Start by pre-heating the oven to 200°C. Prepare all the ingredients for the chicken as listed above (chop things), and chuck them in a blender. Then you should press the button and blend it baby. You don't want it looking like a minging chicken smoothie - it should still have a bit of substance. I'd recommend just pulsing it a few times.


Tip it out onto your chopping board again and form it into the cakes. I managed to make 4 big cakes and a few baby ones out of my mix. You need to form them in balls, then slap them down onto the oiled baking tray. Try and make them thin, because you want them to cook nice and quickly but obviously you need them to be fully cooked! It goes without saying you should definitely have clean hands for this task. When the oven is hot enough pop them in for about 15 minutes.


Next, put a pan of water on to boil for your noodles. While this is getting up to temperature, add your dressing ingredients into a blender. (Use a different one from your first one if you can, if not make sure you wash the first blender properly before making the dressing. No one wants raw chicken dressing.) You can blend this up as much as you like because you're making a sauce. If you want, you could add a few tbsp of water in, just to make the dressing stretch a bit further, as I have to admit, there wasn't loads to go round. I'm going to do that next time I make this.


When your chicken has got about 3 minutes left and your water is boiling, chuck the noodles in. (You may need to cook your noodles for longer than 3 minutes- so check the packet). While they're cooking, I prepared a little salad on the plate - nothing fancy!


When the noodles are done, drain them, pop them back in the pan and pour the dressing in. Mix it all together so the dressing has got over all of it. Take your chicken out - make sure it looks done. Pop it all on the plate and enjoy!


Tuesday, 2 April 2013


Happy Easter everyone! Sorry I'm a day late but since being back at home my life is either non-stop working in the restaurant or seeing my friends and that certainly applied this weekend with the bank holiday. My weekend was full of split shifts and partying so I am now recovering with an extreme case of tiredness topped off with a lovely cold!

Just before the mad weekend though, I decided to whip up some of my favourite cakes of all time... Chocolate Cornflake Cakes. Yes, they're very easy to make and some of you may think they're boring, but I can almost guarantee you'll change your mind once you've tried these. Sometimes cornflake/rice crispie cakes can go rock hard once the chocolate dries but these little treats are full of golden syrup so they stay chewy as long as they stay on your plate.


To make 15 little cakes you'll need;
100g chocolate of your choice (I always use a dark one, around 70% cocoa)
75g cornflakes
50g butter
4 tbsp golden syrup


First, put on a pan of water and bring it to the boil. You only want the pan filled about a quater of the way and when it begins to boil bring it down to a simmer.


Break up your chocolate, then put that, the butter (cut into chunks) and the golden syrup into a bowl and place it on top of the pan of water. Obviously, make sure the bowl is suitable for heating up, and that it's big enough to put onto the the pan without touching the water.


It is important that you keep the water down to a simmer, because too much heat can make the chocolate split which won't make it look glossy and nice.


This should slowly start to melt the butter and chocolate and as it does, you should stir it all together so it becomes a glorious pool of liquid chocolate/heaven.


When everything is all mixed together and there are no lumps of butter left, take the bowl off the pan of water and put it on the side (be careful, it will be hot).


Add your cornflakes bit by bit and gently stir them in, trying not to break them too much.


When all the cornflakes are covered, separate them into individual cases.


Chef's treat is to lick the spoon AND the bowl. Trust me, you won't want to miss out on that one.


Now all you have to do is try and wait as long as you can while they set... but I won't tell if you have to have one sooner than that!

Thursday, 21 March 2013

So, we made it to post number 7 before I mentioned spaghetti. Now, it's not that I'm obsessed with spaghetti in particular, but I do loooove pasta. In case you're wondering, my blog isn't called Elizabetty Spaghetti because its all I eat, it is purely because it rhymed and then stuck in my head! Imaginative isn't it?


I've made this spaghetti lots and I always change it up, depending on what ingredients I have in stock. As you'll know from my other posts, I'm home from university for Easter at the moment so I will probably include a few recipes with some ingredients I wouldn't necessarily buy while at uni, however I'm sure I won't go overboard and start including caviar and champagne in each one so you'll be fine!


To make four relatively large portions (portion control isn't my forte) you'll need:
2 spring onions - chopped
1 chilli - de-seeded and finely chopped
4 mushrooms - sliced
1 onion - cut in half then sliced
2 cloves of garlic - crushed
4 anchovies - chopped
A jar of any tomato pasta sauce
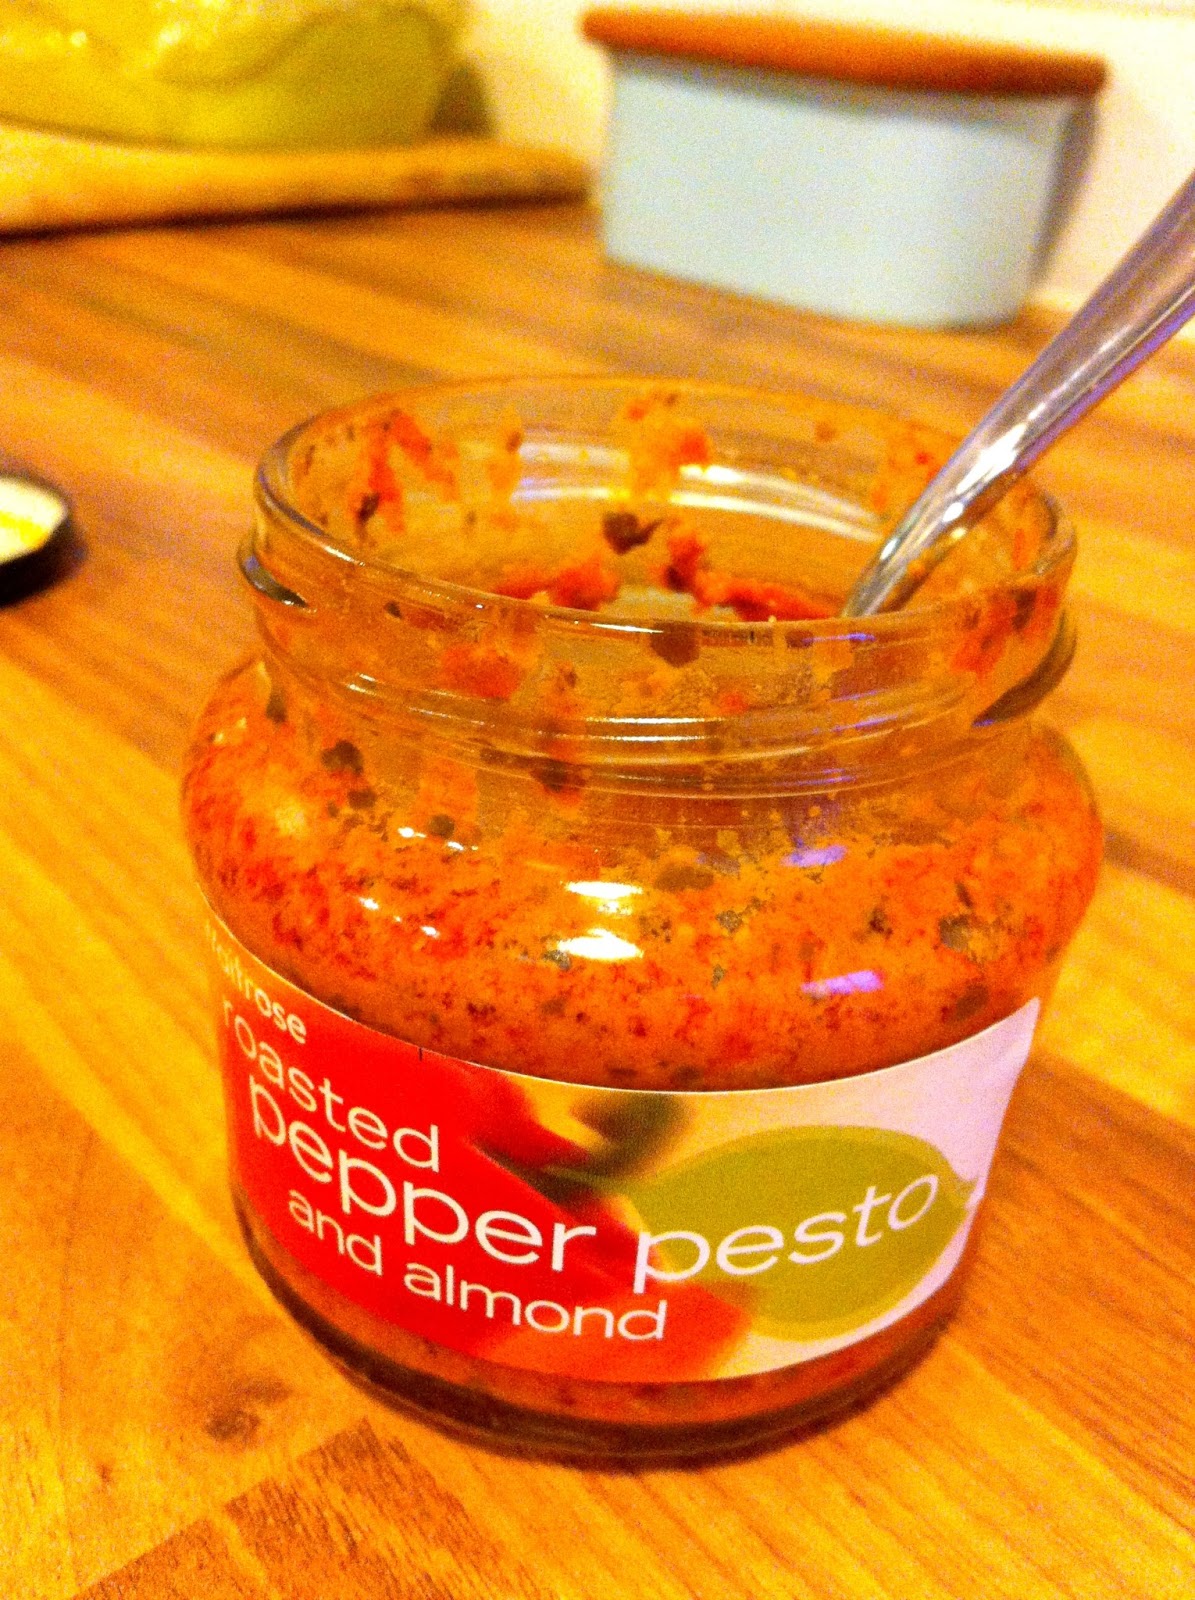
1 heaped teaspoon of red pepper pesto (optional)
A couple of packs of cooked prawns
400g spaghetti - approx.
Rocket to serve

It seems like a lot, but I tend to have most of this stuff in stock all the time.


Start by chopping all your ingredients that need chopping so everythings ready. Pour a little olive oil into a saucepan and throw in your garlic first (give it a minute), then your spring onion and chilli (give that a few minutes), then your onion. Give it a few stirs so everything gets cooked and all the flavours mingle. Be careful when you first add the garlic as it burns very easily if the heat is too high, which will turn the garlic bitter and horrible.


Now, put on a pan of water and wait until its boiling. Once it is, add your spaghetti. Most chefs say to put a pinch of salt into the boiling water for all different reasons... some say it adds flavour, some say it increases the boiling point of water so your pasta cooks better, some say it stops the pasta sticking together/to the bottom of the pan. However, I've never noticed a difference if I include salt or if I don't. So my advice is to not include it. I would rather use that salt to add to my dish once its finished, and actually taste it. That may be frowned upon by "real" chefs but I'm a rebel with a cause, a cause of good, cheap food.


Spaghetti takes between 8-10 minutes to cook but check your packet just in case. I like mine slightly al dente so I always cook it for the minimum it says. While your pasta is boiling away, add the mushrooms until they soften a bit.


Now add the prawns. There is normally a bit of juice in the pack so pour that in too, it'll add extra flavour. Stir it all about until all the flavours mix up. Next, add your chosen sauce. Literally any will do, just make sure you like it. I used this Loyd Grossman one because that's what was in the cupboard. Stir it in so it heats up nicely.


Now add the chopped anchovies in. Most people will straight out say they hate anchovies however, when added to sauces, they make a really nice rich flavour. I have to say these were quite fishy ones and my fish-phobic Dad said he could taste them when he ate it, but I beg to differ. After all, it is a prawn dish, I'd be lying if I said it wasn't fishy at all. Anyway, its your choice if you want to add them or not, but I loved it with them in!


Add a spoonful of red pesto if you have it, to add another dimension of flavour. We had this red pepper one in the fridge, so I used a spoonful of that.


Drain the spaghetti and combine the pasta with the sauce in one of the pans. Stir it all round so it's well mixed. Portion it up onto warm plates and add a nice handful of rocket on the side. Eat and enjoy!

Tuesday, 12 March 2013

Getting your five a day isn't always easy and can seem like a chore if you don't like eating fruit and veg too much. That's why smoothies are such a brilliant way to get the good stuff into your body, while you enjoy every last slurp.


To make two smoothies you'll need;
About 100ml-200ml apple juice (start with less then add more if it's too thick)
2 pears
A couple of big handfuls of frozen summer fruits (blackberries, raspberries, blackcurrants and redcurrants)
A stick blender/blender/smoothie maker


Start by pouring in just over 100ml of apple juice. I'm a bit vague with this quanitity because 100ml wasn't enough for me and made the smoothie too thick, but if you have a proper smoothie maker 100ml might be fine.


Roughly chop up your pears and add them to your blender/jug/smoothie maker. Help your blender friend out by chopping them kind of small and roughly the same size so you don't get left with any big lumps.


Get your frozen fruits and add them too. I used a few big handfuls (and threw in a few extra for good luck). You can get frozen berries from most supermarkets, but if you can only find fresh I'm sure they'll be fine too, it just won't be as cold (unless you use ice cubes too).


This selection was under £2 from Aldi and was perfect, if anything too big. I was originally going to make it with blueberries because of all the amazing anti-oxident qualities they have, but I don't love blueberries and they were more expensive, so I changed my mind when I got to the supermarket.


This is a case of add what you like and can afford. However, I do think smoothies are good ways to add those things in that you're not particularly keen on but you know are good for you, for example, blueberries for me. If you have lots of other lovely stuff in there, it might hide the taste of them a little bit. (Obviously this depends what you put it, so be sensible with your flavours and choose fruits that you know will compliment each other!)


Whizz it all up until its smooth and has no big lumps that you won't be able to suck through a straw. When it's all smooth its up to you to judge whether it's too thick or not. Mine was, so I added slightly more apple juice. Taste it too, and see if there's a flavour you'd like to taste more of.


This smoothie is kind of sharp in a refreshing way and because of the frozen berries it was super cold. All smoothies are best drunk right away, especially if they contain lots of fresh fruit as the fruit can oxidise right away and make it taste funky. So, pour it into your favourite glass, find a little spot in the sunshine, close your eyes and sip away. Or, if you're in England right now and are also enduring this unseasonal Arctic blizzard, sit by your radiator and pretend it's summer, just like me.
Powered by Blogger.

Nice to meet you...

My photo
The Sunny South, UK, United Kingdom
Welcome to the beach of my mind. All enquiries welcome... elizabettyspaghettiblog@gmail.com
Part of the next blogger network

Search This Blog